
What’s In The Box?
The following are included when purchasing the Electric Backpack ULV Fogger:
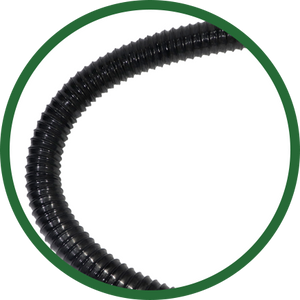
Hose

C-shaped unit
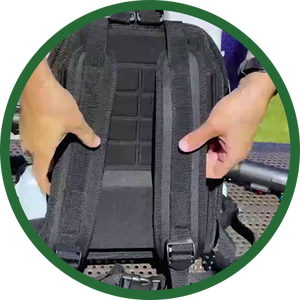
Backpack Straps
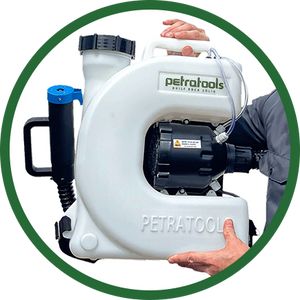
Unit
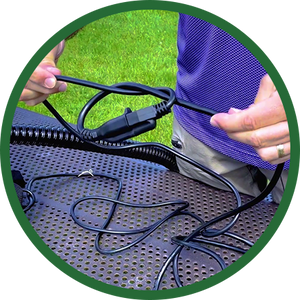
Cords

Full-color manual
Extended warranty card
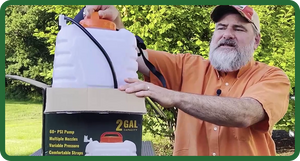
What Are The Parts Of Electric Backpack ULV Fogger?
The electric backpack ULV fogger is a versatile and powerful tool that can be used for a variety of applications, including pest control, sanitizing, and disinfecting. But what exactly are the parts of this handy machine? Let's take a closer look.
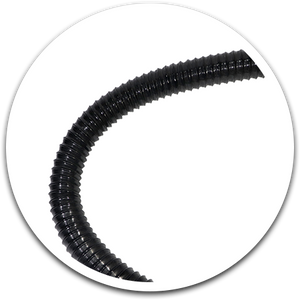
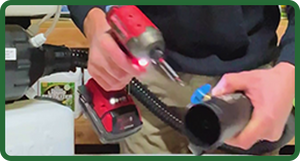
Hose
The hose is one of the most important parts of the fogger, as it is responsible for delivering the chemicals or solutions to be sprayed. The hose is made out of durable material and is connected to the attachment point on the side of the unit.
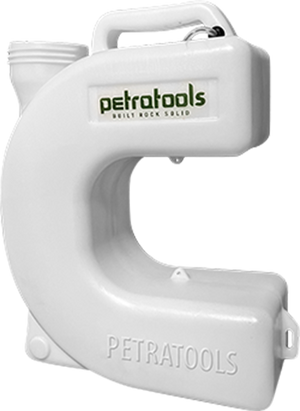
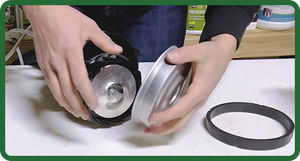
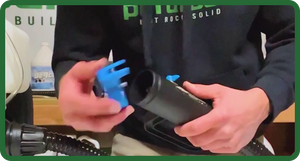
C-shaped Tank
The C-shaped tank is where the chemical solution or water is stored. This part of the fogger is made out of durable material as well to ensure that it can withstand the chemicals being sprayed.
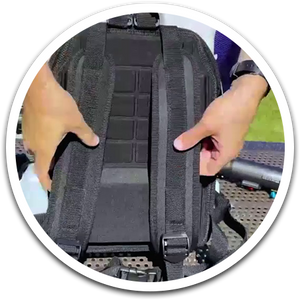
Backpack Straps
The backpack straps are what allow the fogger to be worn on your back, making it easy to carry and use. These straps are padded and adjustable to ensure a comfortable and secure fit.
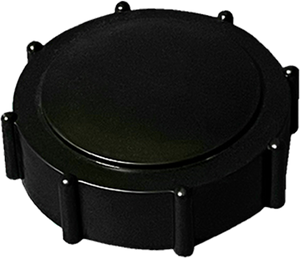
Lid
The lid is placed on top of the C-shaped tank and helps to prevent any spillage or leaks. The lid is also responsible for keeping the chemicals in the tank from evaporating.
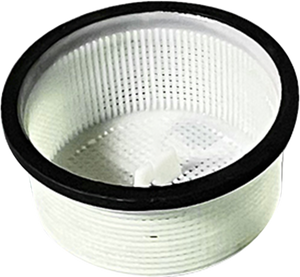
Strainer
The strainer is a small plastic screen that is placed on the mouth of the fogger. This screen helps to prevent any clogging of the nozzle and ensures a smooth and even spray.
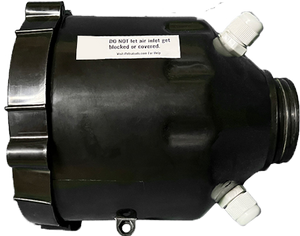
Electric Motor
The electric motor is responsible for powering the fogger. This motor is connected to the battery pack and provides the power needed to run the fogger.
Cord
The cord is what connects the fogger to the power source.
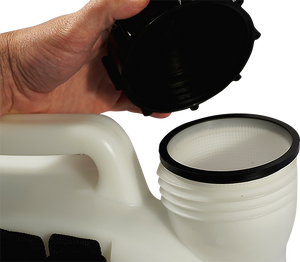
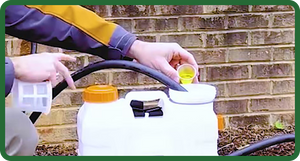
Large Mouth Opening
The largemouth opening is where you pour the chemical solution or water into the C-shaped tank. This opening is large enough to accommodate most standard-size bottles. This also allows you to flush it out quickly once done using it.
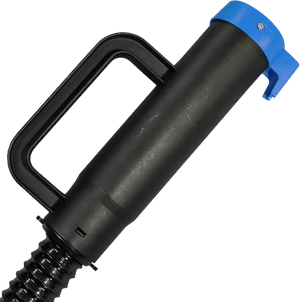
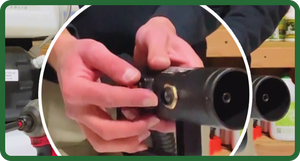
Hose Handle
The handle on the hose has two controls - a red rocker switch and a mist control switch. The red rocker switch is responsible for turning the fogger on and off. The mist control switch allows you to adjust the output of the fogger.
How to Use the Electric Backpack ULV Fogger?
Pour the Solution
To use the backpack ULV fogger, first, you need to pour the solution into the tank. Make sure to follow the dilution ratio that is specified by the manufacturer to get optimal results. Once the solution is in the tank, screw on the lid tightly to prevent any accidental spills.
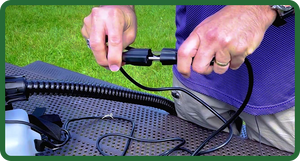
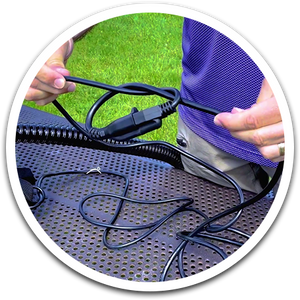
Plug It In
Next, you need to plug the backpack ULV fogger into an electrical outlet. Once it is plugged in, turn on the power switch to start the machine. For safety purposes, tie a knot where the base of the frame meets the backpack strap. Loop the cord around pull it snug.
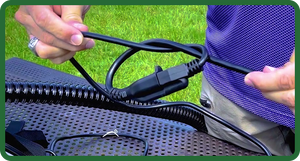
Extension Cord
When using an extension cord, make sure to tie a knot between the two cords before you start.

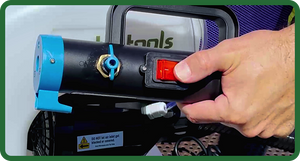
Turn On the Red Rocker Switch
After the machine is plugged in and turned on, locate the red rocker switch. Once you find it, turn it on to start the flow of the solution.

Adjust the Size of the Droplets
Once the red rocker switch is turned on, the droplets will start to come out of the nozzle. The size of these droplets can be adjusted using the knob located above the trigger. For smaller droplets, turn the knob to the left and for larger droplets, turn it to the right.
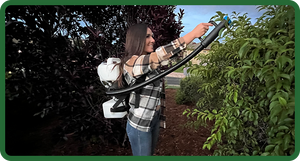
Start Fogging
Now, you are ready to start fogging. To do this, simply hold down the trigger and start moving around the room. Make sure to keep the nozzle about 1-2 feet above the ground so that the mist can evenly cover the area. Also, try to move at a steady pace so that you don’t miss any spots.
Stop Fogging
When you are done fogging, release the trigger and turn off the red rocker switch. Then, unplug the backpack ULV fogger from the electrical outlet. Finally, remove the lid from the tank and pour out any remaining solution.

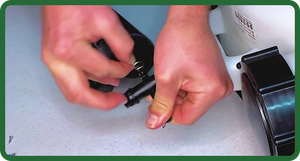
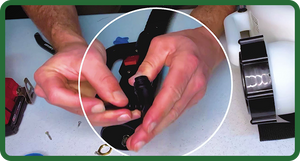
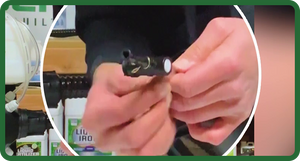
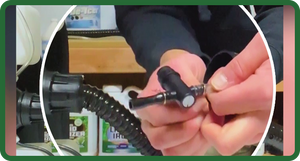
How to Replace Valve Handle and Blue Knob

Remove the three Phillips head screws. The first one is in the blue knob itself and the other two is on the nozzle.

Pop up the nozzle and then take off the little brass ring. Using a pliers can do the job easier.

Push the valve inside and then grab it from there.

Take off the hose clamps from the valve, then pull it off for the valve to come out. Ideally, you should stick a pair of pliers into the hose as it tends to get hard to pull it out again.
Similarly, take the end of the little hose in the valve and pull it off.
To reassemble the valve, stick the hose that you took off and then put the clamp.

Put the hose inside the valve. Make sure that the black hole is pointing towards the nozzle.
Stick that attached valve inside the hose, while making sure that the handle is right on spot.

Secure that little brass ring and then screw the blue knob.

Finally, screw the nozzle and you’re ready to go.
Preparing Your Fogger For Winter Storage
A few simple steps will ensure that your unit will be ready for use when spring finally arrives.
Run 2 gallons of warm water mixed with 2 teaspoons of liquid dish soap through the unit to clean all internal parts, then run 1 more gallon of warm water only through. Spray until unit, wand & hose are fully empty.

You may plug your Fogger unit in for constant battery maintenance, or if this is not possible, simply charge fully before storage..

Place unit right-side-up in the warmest storage possible. Do not store long-term in temps below 32°F.
Storage in its original closed box is ideal, but if that’s not an option, you can cover with a canvas or plastic tarp to protect it.
How to Replace the Hose

Detach Motor From the Tank

Take Off the Cover of the Motor

Work on the Wires

Disconnect the Hose From the Motor Housing
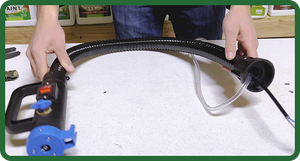
Install the New Hose
Reinstall the Motor

Put the Motor Back to the Back
How to Fix Elevated Handle Not Fogging

Take off the nozzle cover by unscrewing it.
Remove the blue knob.
Remove the brass ring.
Take out the nozzle.

Remove the nozzle from the hose.

Unscrew the hose housing from the motor housing.

Check the hose for any kinks.

Feed the hose back to the housing.

Push the hose upward so that you can grab it.

Secure the hose to the housing.
Reassemble the nozzle.

Attach the brass ring and the blue knob.
Attach the nozzle cover.

FREQUENTLY ASKED QUESTIONS
An electric backpack fogger offers many benefits over traditional fogging methods. For one, it is much more efficient and can cover a larger area in a shorter amount of time. Additionally, it is much less likely to cause health problems for those using it, as there is no need to breathe in the chemicals used. Finally, electric backpack foggers are much more environmentally friendly, as they do not release any harmful emissions into the atmosphere.
The electric backpack fogger comes with a 180-day warranty and is eligible for an extended 90-day warranty upon registration. This ensures that if there are any problems with the fogger, you will be covered. Additionally, the customer service hotline is available to help with any questions or concerns you may have.
The electric backpack fogger can be used in a variety of environments, including homes, businesses, hospitals, and more. It is important to note, however, avoid using the fogger in areas where people are present as it is dangerous to inhale the mist it is fogging most specially if you’re using chemical solutions. Additionally, it is recommended that you test the fogger in a small area before using it in a larger space.
Yes, the electric backpack fogger can be used with a variety of insecticides and pesticides. However, it is important to read the labels of these products carefully before use, as some may be harmful to humans or animals. Additionally, you should always test the fogger in a small area before using it in a larger space.
The electric backpack fogger can cover a wide area. This makes it ideal for use in large spaces, such as homes, businesses, hospitals, and more. Additionally, the fogger can be used in multiple rooms without the need to move it around, making it even more convenient.
Yes, the electric backpack fogger is easy to use. Simply fill the tank with the desired solution, turn on the fogger, and adjust the flow rate. The fogger will do the rest, providing even coverage of the area. Additionally, the fogger comes with a user manual that covers everything you need to know about its use.
No, you do not need to wear protective gear when using the electric backpack fogger. However, it is always a good idea to have some on hand in case of accidental spillage. Additionally, you should avoid inhaling the mist generated by the fogger, as it may be harmful to your health.